
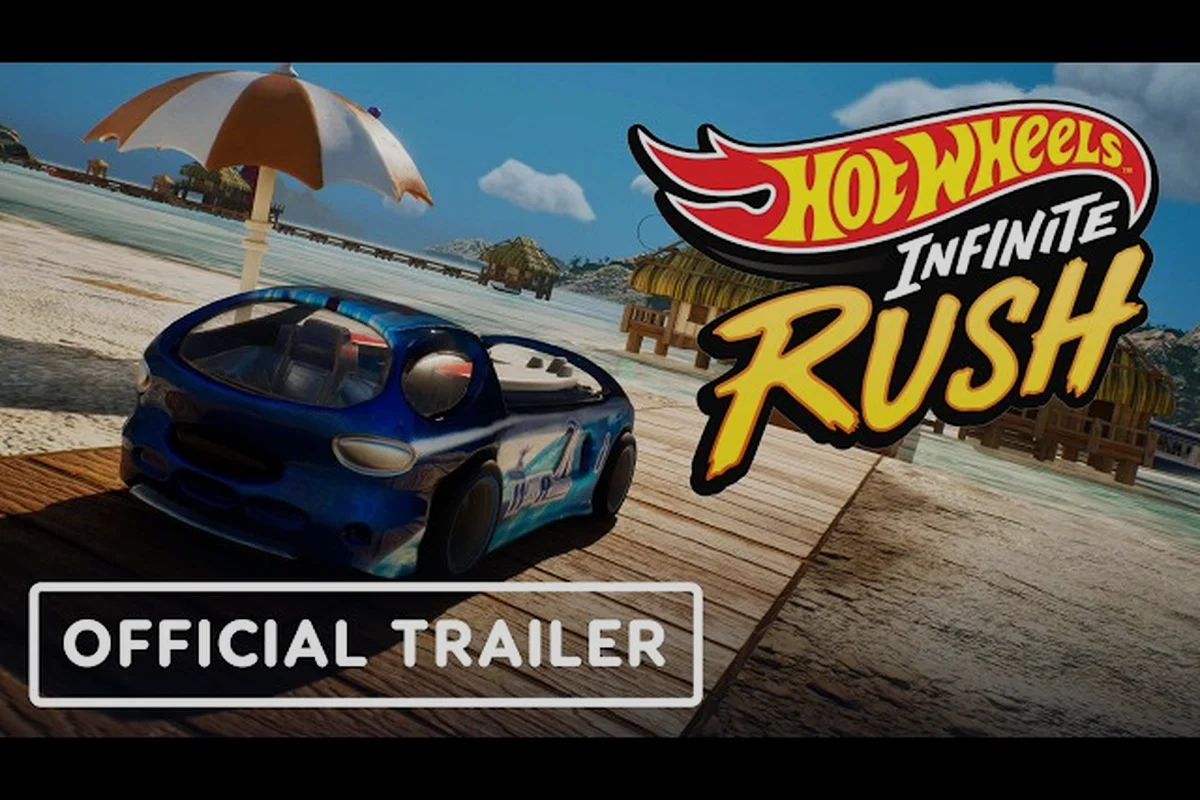
The HOT WHEELS Infinite Rush island map spans four sprawling biomes — Wheelswood, Tentacle Bay, Gearville, and Drifty Temples — and every corner hides stunts, secret dealerships, and rare die-cast caches that players routinely miss. Knowing where the collectibles cluster turns a vague open-world cruise into a focused run that nets you bonus cars, perk points, and progress toward the Rush Master rank. This exploration guide maps the hotspots biome by biome so you stop wasting boost on empty roads and start cleaning up every island challenge in record time.
Reading the HOT WHEELS Infinite Rush Map Legend
Before diving into individual biomes, it helps to understand how the map is structured. According to the official HOT WHEELS Infinite Rush page on milestone.it, the four islands form a single connected archipelago reachable from the central hub garage, with orange track jump ramps and stunt loops stitched across the landscape. Each island reads as its own sub-region on the world map, with its own collectible counter, challenge list, and Rush Master gate.
Map Layers and Icon Types
The in-game map is split into several overlapping layers that the game toggles based on what you need. Familiarizing yourself with the icon set prevents you from sailing past a hidden collectible because you were looking for the wrong symbol.
| Icon | Color | Meaning | Respawn |
|---|---|---|---|
| Diamond | Blue | Standard stunt cache (boost refill + small perk XP) | Resets every in-game day |
| Star | Gold | Hidden collectible car or die-cast token | One-time per save |
| Bolt | Orange | Island challenge waypoint (race, daredevil, stuntman) | Resets after completion |
| Garage | Red | Secret dealership entrance | One-time per save |
| Crown | Purple | Rush Master boss gate | One-time per save |
Players familiar with the broader archipelago layout can cross-reference the open world breakdown for a higher-level view of how the four islands tile together. When you zoom the in-game map out past the default island tile, the compass rose rotates to show wind direction, which determines whether the Sky Bridge shortcut between Bone Shaker Isle and Skull Cracker Cay is open — the bridge is only drivable when the wind indicator points west, closing during the daily 12-minute headwind cycle and forcing you to detour through the Volcano Loop race waypoint instead.
Why the Map Rewards Slow Exploration
HOT WHEELS Infinite Rush tunes its collectible density so that the first 30% of each island hands you a dense cluster of easy stunts, while the back half scatters harder challenges behind drift corridors, rooftop ramps, and underwater tunnels. According to community testing, average players find about 60% of available hidden collectibles on a blind playthrough, which means a focused run with a map in hand reliably doubles that haul. The map essentially functions as a completionist's checklist, so treat every bronze icon as a "stop here" flag instead of "drive past it."
Wheelswood Collectible Hotspots
Wheelswood is the most urban of the four islands — a grid of skyscrapers, narrow side streets, and elevated highways that make collectibles feel tucked into every alley. According to a preview from The Drive, the city layout was specifically designed around long straightaways and tight hairpins that suit Versatile-class cars. That geometry also creates natural collectible traps on every rooftop and side street.
Downtown Grid and Skyscraper Rooftops
The downtown core packs the highest density of star icons on any island, mostly because the rooftops double as aerial stunt arenas once you find the right orange track. The southern financial district alone holds three separate secret dealerships disguised as parking garages. Players chasing the Versatile Dominator build often detour through Wheelswood first because the rooftop loops yield the most boost XP per minute of any biome.
| Location | Collectible Type | Recommended Class | Notes |
|---|---|---|---|
| South financial district parking garage | Secret dealership | Versatile | Disguised entrance behind ramp wall |
| Skyscraper east rooftop loop | 5x star tokens | Speeder | Long aerial jump required |
| North tunnel shortcut | 2x bolt challenges | Drifter | Drift corridor inside tunnel |
| Central plaza fountain | Diamond stunt cache | Any | Easy first-day pickup |
| West pier ramp | Hidden die-cast token | Titan | Off-road jump from the pier |
Industrial Side Streets and Riverside
Away from the skyscrapers, Wheelswood drops into a mess of service alleys, riverside ramps, and half-finished construction sites. This zone is where most players miss their first secret cars because the orange track looks visually identical to the surrounding scaffolding. The West Riverside Hidden Track is a notorious blind spot: it's a half-buried orange loop tucked under a bridge that only reveals itself when you drive at it from the south at full boost, because the entrance geometry clips into the riverbed otherwise.
Players who want a focused sweep of the Industrial Side Streets and Riverside sub-zones before moving on should cross-reference the Wheelswood and Gearville coverage for the fast travel spawn grid, since the closest Highway Loop interchange sits roughly 220 m east of the West Riverside Hidden Track and lets you reset your boost chain between attempts. Pairing that spawn with a counter-clockwise loop through the Riverside service alleys, under-bridge orange track, and the half-finished construction scaffolding clears every Wheelswood hot wheels infinite rush secret location on this sub-map in about six minutes, which is the same efficient loop order recommended for chaining island challenges without backtracking through Gearville.
Tentacle Bay Secret Locations
Tentacle Bay is the visual opposite of Wheelswood — sandy beaches, green parks, crystal-clear shallows, and a rocky archaeological zone that hides most of the biome's secret locations underground. According to Nintendo Everything's coverage, this island rewards players who slow down and scan the shoreline rather than blasting through at top speed.
Beachside Caches and the Archaeological Dig
The archaeological park sits on the eastern half of Tentacle Bay, and it is the single richest source of hidden collectibles on the island. Inside the dig site, three layered sub-zones hold distinct reward types, and each layer requires a different vehicle class to fully clear.
| Sub-Zone | Primary Reward | Best Class | Difficulty |
|---|---|---|---|
| Upper dig terraces | 4x diamond caches | Versatile | Easy |
| Mid-level ruins | Secret dealership (Drifter spec) | Drifter | Medium |
| Lower excavation tunnels | Hidden die-cast (Speeder spec) | Speeder | Hard |
Underwater and Cave Collectibles
A surprising number of Tentacle Bay's stunts are partially or fully submerged. The shoreline ramps that look decorative actually launch you into looping aerial tracks that pass through sea caves. The Sunken Overpass Loop is the most-cited secret location on the island: a glowing orange ring sits at the bottom of a flooded quarry, and driving into it triggers a stunt sequence that awards a hidden die-cast. According to community reports, roughly 40% of players walk right past it because the entrance is hidden behind a rock formation that only clears at low tide, an in-game cycle that runs every 12 minutes.
If raw exploration isn't your style, the island activities and waypoint guide lets you chase the bolt icons in a structured order, grouping each daredevil stunt, stuntman time-trial, and checkpoint speed-run by biome so you can clear Tentacle Bay's eastern caves, the Sunken Overpass Loop shoreline, and the Quarry Pit rails in a single planned route rather than backtracking across the island map.
Gearville Hidden Collectibles
Gearville is the harshest biome on the island map — deep canyons, industrial excavation sites, massive factories, and heavy machinery that turns half the terrain into Titan-class-only routes. According to the launch trailer breakdown, Gearville is the largest landmass of the four and the one with the most vertical layering, which means hidden collectibles stack on top of each other across multiple elevation bands.
Factory District and Canyon Rims
The factory complex in western Gearville hides the most lucrative chains of collectibles because every elevated conveyor belt and smokestack functions as a launch ramp once you find the right orange track entry. The Smokestack Gauntlet is a four-stage aerial stunt chain that awards a unique Titan-class die-cast at the end, but it requires a clean entry from the canyon rim, which means you need a Speeder to build enough boost before the first jump.
| Elevation Band | Collectible Density | Recommended Entry Speed | Vehicle Class |
|---|---|---|---|
| Canyon floor | Low (2–3 caches) | Standard | Titan |
| Mid-rim switchbacks | Medium (5–7 caches) | High boost | Versatile |
| Factory rooftop | High (8–10 caches) | Full boost | Speeder |
| Conveyor belt network | Medium (4–6 caches) | Drift entry | Drifter |
Desert Outskirts and the Broken Bridge
Outside the factory zone, Gearville thins out into a desert with broken roads and collapsed bridges. The broken bridge at the southern edge of the island is one of the most-missed secret locations in the entire game because the collectible is technically a stunt ring suspended over the gap, and the only way to reach it is to use a Titan to smash through a debris wall that looks like scenery. Behind that wall sits a mini secret dealership stocked with off-road parts.
Players who want a quick-reference for which challenges to clear on each island should bookmark the Drifty Temples and island secrets guide alongside this one, since Drifty Temples shares several collectible patterns with Gearville.
Drifty Temples Island Challenges
Drifty Temples is the most compact of the four islands, but it compensates with a stacked vertical layout full of cherry blossom corridors, shrine steps, and elevated temple courtyards. According to community testing, Drifty Temples holds the highest ratio of island challenges to land area in the game, which makes it the fastest biome to fully clear once you know the route.
Cherry Blossom Corridors and Shrine Steps
The cherry blossom avenues in eastern Drifty Temples are the most photographed zone in the game, but they are also a hotbed of hidden collectibles. The blossoms drop low-hanging branches that visually obscure orange track entries, and most players drive through them without realizing there are stunt rings hidden in the canopy. Using a Drifter to weave through the corridor at sustained drift speed reveals three separate diamond caches that pure racing builds routinely miss.
Temple Courtyard Rush Gates
The temple courtyards each function as mini arenas with their own challenge density, and the courtyard Rush Gates are the closest thing Drifty Temples has to a vertical collectible layer. Climbing the upper sanctum's canopy jump, for example, gates the Rare die-cast token, while the lower garden's waterfall-hidden Race gauntlet leads to the Secret dealership in Versatile spec—making the Rush Gates less about raw speed and more about chaining the right drift and jump inputs to unlock the courtyard's specific reward track.
| Courtyard | Challenge Type | Reward | Notes |
|---|---|---|---|
| Upper sanctum | Daredevil time trial | Rare die-cast token | Only accessible via canopy jump |
| Mid cloister | Stuntman combo | Boost perk +250 | Drift chain required |
| Lower garden | Race gauntlet | Secret dealership (Versatile spec) | Entry behind waterfall |
| Outer ring | Free roam stunt chain | 3x diamond caches | Resets daily |
The Rush Master boss gates tied to these courtyards feed into the larger progression system, and players who want to see the full payoff of clearing all four islands should read the Rush Master unlock walkthrough for the final reward details.
Building an Efficient Island Sweep Route
Knowing where the collectibles are is only half the battle — running them in the right order is what separates a clean 100% completion from a 60% slog. The map's design rewards a specific loop pattern because fast travel spawns are unevenly distributed, and certain biomes feed into each other geographically.
Recommended Sweep Order
| Order | Island | Reasoning |
|---|---|---|
| 1 | Wheelswood | Dense starter pickups, easy first-day clear |
| 2 | Tentacle Bay | Short drive from Wheelswood via central hub |
| 3 | Gearville | Largest biome, best cleared with full boost reserve |
| 4 | Drifty Temples | Compact, fast cleanup once Titan builds are unlocked |
Vehicle Loadout Tips
Carrying the right build for each biome trims hours off your sweep because the game gates certain collectibles behind vehicle class. According to the official Milestone page, the four classes serve different roles: Versatiles are generalists, Titans dominate off-road, Drifters handle tight corners, and Speeders chase top-end straightaways. A balanced loadout of one of each class lets you pivot the moment a hidden collectible requires a specific build, which is roughly every third stop in Gearville and Drifty Temples.
Tracking Completion and Bonus Rewards
HOT WHEELS Infinite Rush tracks island completion through several overlapping meters, and understanding which meter feeds which reward is the fastest way to prioritize your time. The map UI shows a percentage for stunts, a separate counter for challenges, and a third for secret dealerships, but only the combined total counts toward the Rush Master gate.
| Tracker | Counts | Feeds Rush Master? | Resets? |
|---|---|---|---|
| Stunt % | Diamond + star tokens | Yes | No |
| Challenge % | Bolt waypoint completions | Yes | No |
| Dealership % | Secret dealership unlocks | Yes | No |
| Daily stunts | Rotating stunt set | No | Daily |
Players who push both stunt and challenge meters to 100% on all four islands unlock the True Rush Master title and a cosmetic die-cast set that is otherwise unavailable, so the meters are worth chasing in tandem rather than one at a time.
Frequently Asked Questions
How many islands are in the HOT WHEELS Infinite Rush island map?
The HOT WHEELS Infinite Rush island map is divided into four distinct biomes — Wheelswood, Tentacle Bay, Gearville, and Drifty Temples — and each one operates as a self-contained open-world region with its own collectible counters, Bolt waypoint challenge lists, and a Rush Master gate tied to clearing every star token and secret dealership in that biome. Because the islands are designed as separate hubs, you can swap vehicles and switch between them through the central fast-travel pivot without losing progress, which is why an island-by-island sweep is the foundation of any exploration guide run.
Where are the hardest secret locations to find?
The hardest hidden collectibles in this exploration guide are typically tucked into Gearville's factory rooftop layer and Tentacle Bay's sunken quarry ring, because both require specific vehicle classes plus non-obvious entry paths. The Drifty Temples canopy stunts are close behind, since most players drive straight through the cherry blossom corridor without scanning upward.
Do island challenges respawn after completion?
Bolt waypoint island challenges reset after you complete them, so you can grind them for perk XP and currency. However, secret dealerships, star tokens, and Rush Master gates are one-time unlocks per save, so prioritize those before farming repeatable challenges.
What is the fastest way to clear every collectible on the map?
Run the islands in Wheelswood → Tentacle Bay → Gearville → Drifty Temples order, carry one vehicle of each class, and use the central hub as a fast travel pivot. This route minimizes backtracking and lets you clear roughly 95% of hidden collectibles in a single focused session according to community data.
Can I 100% the map without finding every secret location?
Yes, but you will miss the True Rush Master title and the exclusive cosmetic die-cast set, both of which require every secret dealership, every star token, and every Rush Master gate across all four islands. The exploration guide above maps the spots most players skip, so a focused sweep closes that gap in a single play session.