
Opening the Track Builder for the First Time
The HOT WHEELS Infinite Rush track builder is the headline creation tool that turns the open-world arcade racer into a sandbox for stunt designers. Instead of being limited to the fixed orange track that ships with each island, players can drop down their own loop-the-loops, sky jumps, and terrain-hugging chicanes using a library of snap-together track modules. Once a layout is saved, the same system spawns virtual opponents on it, which is why Milestone pitches the mode as a content pipeline rather than a one-off toy.
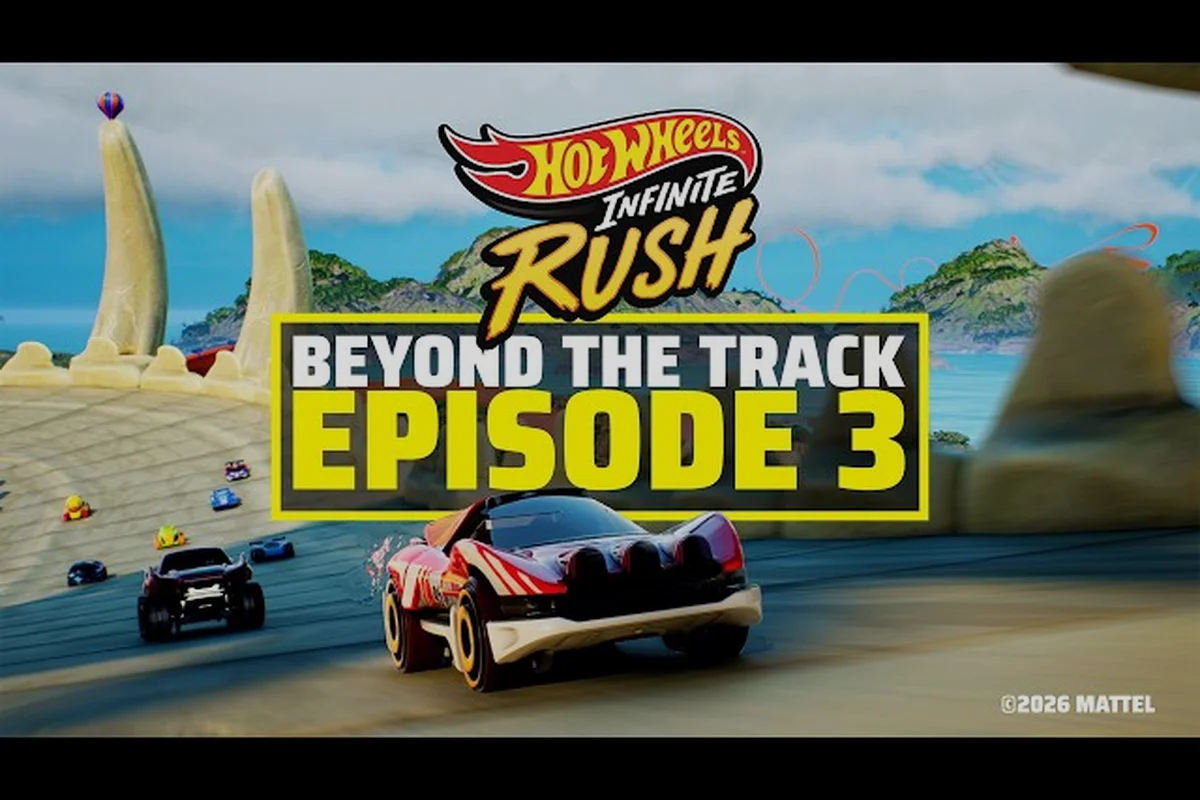
According to the official Beyond the Track Episode 3 devblog, the track builder is built around three pillars: module variety, terrain blending, and community sharing. The first pillar covers the dozens of straight, curved, banking, and stunt pieces available in the palette. The second pillar covers the adaptive ground-snapping system that bends each module to the underlying surface, so a ramp that starts on asphalt continues smoothly onto sand or grass without visible seams. The third pillar covers the upload flow that turns a personal save file into a community track the rest of the player base can race.
The track builder is open from the main menu and from the Creativity Corner hub on each island, so creators do not need to finish a Rush Master to start experimenting. New players looking for a wider primer on the mode's creative intent can pair this article with the creative tracks overview, which breaks down the kinds of layouts the tool is designed to support. This article focuses on the mechanics: how to place modules, how to wire AI opponents, and how to publish a finished layout.
Modules, Snapping, and Terrain Blending
The Module Library
Every track is built from a finite catalog of track modules, which are the LEGO-like pieces that snap end-to-end. The library is grouped by function so creators do not have to scroll through hundreds of pieces to find a specific shape. The four most important groups are straights, curves and banks, stunts (loops, corkscrews, jumps, and boosters), and connectors (start/finish gates, checkpoints, and AI markers). Each module has a default length, a default banking angle, and a recommended minimum speed, which the editor reads back to the user as a small data card.
| Module Group | Example Pieces | Best Use Case | Notes |
|---|---|---|---|
| Straights | 4m, 8m, 16m flat pieces | Long flat sprints between stunts | Acts as breathing room for AI to cluster |
| Curves and Banks | 15°, 30°, 45° banked turns | Linking elevation changes | Pairs well with ground-snap for hillsides |
| Stunts | Loop, corkscrew, jump ramp, booster | Vertical and airborne sections | Some stunts require a minimum entry speed |
| Connectors | Start gate, finish gate, checkpoint, AI marker | Race flow and ghost data | AI markers are required for ghost racing |
Ground-Snapping in Practice
The adaptive ground-snapping system is the technology that separates HOT WHEELS Infinite Rush from older track editors that required a flat plane. When a player drops a module, the editor reads the heightmap of the underlying surface and bends the geometry to match. According to the official Xbox Wire feature, this lets the modules blend into the environment so creators can build impossible stunt courses on top of buildings, around cliffs, or weaving through trees.
In practice, snapping works on three snap strengths that creators toggle in the build menu. Soft snap lets the module drift along the surface and follow natural contours, which is ideal for terrain tracks that hug a hillside. Hard snap locks the module to the current surface normal, which is best for vertical faces like skyscrapers and quarry walls. Free-floating disables snapping entirely, which is used for sky tracks, suspended loops, and other aerial layouts that have no ground beneath them. The table below summarizes the trade-offs the editor exposes.
| Snap Mode | Best For | Trade-off |
|---|---|---|
| Soft Snap | Hillsides, dunes, beach sections | Module may flex slightly, can cause small seams at high speed |
| Hard Snap | Cliffs, building walls, vertical faces | Geometry can clip on uneven rock meshes |
| Free-Floating | Sky tracks, suspended loops, boss arenas | Requires manual support pillars or visual fakery |
A Recommended Build Flow
Creators who learn the module library quickly settle into a repeatable build flow. The first step is laying down a start gate to anchor the track origin. The second step is sketching a long straight or a wide curve away from the start so AI drivers have space to spread out before the first stunt. The third step is dropping one or two signature stunts, usually a loop followed by a jump, to give the track a personality. The final step is closing the loop back to the start with a finish gate, or leaving the track as a one-shot sprint if the layout is meant for time-trial leaderboards. Community reports suggest creators who skip the second step and start with a stunt often produce tracks where AI opponents bunch up at the first jump, which hurts pacing.
AI Action Markers and Ghost Racing
How AI Action Markers Control Virtual Racers
A track built without AI markers will let the player drive it, but virtual opponents will not be able to race it in any meaningful way. The AI action markers are invisible waypoints that tell the opponent driver what to do at specific points on the track. According to the official Xbox Wire feature, these markers are the second advanced tool the track builder ships with, alongside the ground-snap system, and they are what allow custom tracks to be played competitively rather than as a sandbox toy.
Each marker is placed from the connector palette and assigned a behavior. The behaviors are boost here, drift here, jump here, and avoid here. Boost markers trigger an opponent's nitro, drift markers force a slide, jump markers cue a ramp launch, and avoid markers steer opponents around hazards like oncoming traffic or breakable obstacles. Markers stack: dropping two boost markers in a row will tell the AI to chain a nitro into a second nitro, which is how creators tune top speed on long straights.
Sizing the Marker Budget
Every track has a marker budget that limits how many AI action markers a creator can drop. The budget exists because the opponent driver has a fixed cost per marker, and tracks with thousands of markers would cause performance drops on console hardware. The current budget is generous enough for most community tracks but tight enough that designers have to prioritize. The table below is a community-derived summary of typical marker allocations for different track archetypes.
| Track Archetype | Recommended Marker Split | Why |
|---|---|---|
| Time Trial Sprint | 60% boost, 30% drift, 10% jump | Maximizes raw pace for a leaderboard run |
| Stunt Gauntlet | 30% boost, 20% drift, 50% jump | Emphasizes airtime and trick scoring |
| Multi-Lap Circuit | 50% boost, 30% drift, 20% avoid | Smooth pacing with hazard awareness |
| Boss Arena | 20% boost, 20% drift, 30% avoid, 30% jump | Tactical driving under pressure |
Common Marker Mistakes
The most frequent mistake new creators make is dropping too many boost here markers, which causes the AI to constantly accelerate and slide off the track. The second most common mistake is forgetting an avoid here marker near a breakable obstacle, which means the AI drives straight into it and loses half a second. The third is placing a jump here marker right after a tight curve, which makes the AI launch at a bad angle and crash. Community reports indicate tracks that pass the Ghost Test — meaning a ghost opponent completes a clean lap with no wall hits — feel substantially better to race, even if the layout itself is simple.
Creators who want a deeper look at marker placement and how it interacts with specific stunts can compare notes with the terrain tracks deep dive, which uses AI markers as a recurring example throughout its module recommendations.
Saving, Iterating, and Quality Control
The Save Pipeline
Once a layout is placed, the track builder exposes a Save and Publish workflow. The first step is to name the track. The second is to tag it with one of four official archetypes: Sprint, Stunt, Circuit, or Arena. The third is to attach a difficulty rating from one to five stars, which the system auto-suggests based on the AI's expected lap time but which creators can override. The fourth is to add a short description. The fifth is to publish, which uploads the track to the player's personal library and optionally to the community feed.
Before publishing, the editor offers a Test Drive button. Test drive runs the player car on the new track and overlays a ghost run from a default AI opponent. The ghost helps creators spot wall hits, awkward transitions, and bad camera angles. According to the Steam store page, the test drive is the same physics simulation that powers the full game, so any track that test-drives cleanly should also play cleanly in online lobbies. Players who want to test against the actual ghost system used by the leaderboards can read the racing your own track guide for a step-by-step.
Iteration Patterns
A first publish is rarely the best version of a track. The community has converged on a few iteration patterns that consistently improve layouts. The first is the one-stunt rule: each track should have at most one signature stunt per ten seconds of lap time, because stacking stunts faster than that overwhelms the camera and crowds the AI. The second is the loop-back test: if the track is a circuit, the creator should test drive the last sector first to make sure the AI enters the start-finish straight with enough speed. The third is the reverse test: flipping the track and racing it backward often exposes weak transitions that look fine in the original direction.
| Iteration Step | Time Investment | What It Catches |
|---|---|---|
| Test Drive | 1-2 minutes | Wall hits, broken transitions, bad camera angles |
| Ghost Test | 3-5 minutes | AI bunching, missed jumps, marker mistakes |
| Reverse Test | 5-10 minutes | Asymmetric layouts, blind corners, awkward straights |
| Friend Playtest | 15-30 minutes | Real-world pacing, hot lap consistency, frustration spikes |
Versioning and Edits
Published tracks can be edited and re-published, but the system keeps the previous version available as a v1 archive so leaderboard times do not get wiped on every patch. Creators who want to keep a track private while iterating can save it to My Drafts without publishing, which is also where experimental modules that exceed the marker budget can be tested without uploading a broken file to the community feed.
Sharing Custom Track Codes With Friends
How Sharing Works
Once a track is published, it gets a unique Track Share ID that other players can enter in the Browse Community Tracks menu. The system supports a search bar, a tag filter, and a sort by hot/new/top, which is the same sort logic used on the leaderboard side. According to community testing reported on social channels, players who include the official archetype tag in their track description get noticeably more downloads than those who leave the field blank, because the filter is the primary way other players discover new content.
Sharing also exposes three optional metadata fields: a thumbnail capture, a short clip, and a creator handle. The thumbnail is auto-generated from the start gate view but can be replaced with a screenshot. The short clip is a 10-second reel that plays in the browse menu. The creator handle is how the community finds other tracks by the same builder, so creators who plan to publish more than one track should pick a consistent handle early.
Track Codes and Copy-Paste
In addition to the in-game search, the track builder exposes a Track Code string that can be copy-pasted outside the game. Community reports indicate this code is the dominant way tracks spread on social media, because it is short enough to fit in a single post and unique enough that a paste into the search bar always resolves to the correct track. Players looking for a practical example of how the code is exchanged can compare notes with the track building tips guide, which has a section on how creators pair codes with short clips to advertise their layouts.
Community Etiquette
A few unwritten rules have emerged in the early access window. The first is that tracks with explicit AI cheats — for example, a string of boost markers that pushes the AI to impossible speeds — tend to get downvoted in the community feed. The second is that stolen layouts are usually caught within a day because the AI ghost run leaves a recognizable fingerprint, so passing off another creator's track as your own is a short-lived strategy. The third is that creators who respond to feedback with re-publishes tend to grow an audience faster than creators who publish once and disappear, because the community rewards iteration.
Advanced Techniques and Pitfalls
Vertical and Sky Tracks
A growing share of community tracks are vertical tracks that run up the side of a skyscraper, or sky tracks that are entirely free-floating above the island. Both rely on the free-floating snap mode and require manual support structures to keep the geometry from looking unmoored. The trick most experienced creators use is to drop thin invisible pillars under each module, which keeps the track rigid without adding visual clutter. Vertical tracks also need a strong AI marker set because opponents tend to under-steer on the ceiling section if there is no avoid marker near the apex.
Wrapping Tracks Around Buildings
Track around buildings layouts wrap a circuit around the outside of one of the game's signature landmarks, which is a popular showcase archetype because the landmark gives the track an immediate visual identity. The main risk is the AI bunching on tight corners where the building forces the track to compress, which is why most successful building-huggers use 45° banked turns instead of 15° ones.
Loops and Corkscrews
The loop track and the corkscrew are the two stunts that most strongly signal a track's difficulty. Loops require a minimum entry speed that the editor does not always communicate clearly, so creators who want a guaranteed-clean loop should add a boost marker roughly 20 meters before the loop entry. Corkscrews are even more sensitive to entry speed and direction, so they tend to be placed after a long straight rather than after a curve.
A full tutorial on loop placement and a comparison of loop variants can be found in the loop track guide, which walks through the math behind entry speed and banking angle for each of the loop modules.
Avoiding Common Pitfalls
A small number of pitfalls account for a large share of low-rated community tracks. The most damaging is inconsistent scale, which happens when a creator mixes short and long straights without a plan and produces a track that feels rushed in some sectors and empty in others. The second is bad camera placement, which the editor exposes as a separate menu but which most new creators leave on default, even when the default puts the camera inside a hill. The third is overspending the marker budget on stunts at the cost of AI driving quality, which produces tracks that look great in test drive but play poorly in multiplayer. The fourth is shipping without the ghost test, which lets obvious AI bugs slip into the community feed.
Frequently Asked Questions
Where do I unlock the HOT WHEELS Infinite Rush track builder?
The track builder is available from the main menu and from the Creativity Corner on each island, so no progression gate is required. According to the official HOT WHEELS Infinite Rush page, the only prerequisite is that the player has cleared the tutorial island, which introduces the basic driving controls needed to test drive custom tracks.
How do I share a custom track with friends?
Publish the track from the Save and Publish menu, then copy the Track Share ID or the Track Code and send it to the friend. They can paste either into the Browse Community Tracks search bar to download it. Sharing is unlimited and free for all players, although the community feed sorts by votes and downloads, so popular tracks rise naturally.
Can I edit a track after I have published it?
Yes. Published tracks stay in your library as v1 and can be opened in the editor, modified, and re-published as v2. Leaderboard times from v1 remain attached to that archive, so a re-publish will not wipe your existing hot laps. Drafts saved under My Drafts are private and can be edited freely without affecting any public version.
How many AI action markers can I use per track?
The current marker budget is large enough for most community tracks but capped to keep performance stable on console hardware. Community testing suggests tracks with roughly 30 to 60 markers hit a good balance between AI expressiveness and opponent stability. Tracks that exceed the budget can be saved as drafts but cannot be published until the marker count is reduced.
Why does the AI crash on my track even though the test drive felt clean?
The most common reason is missing or misaligned AI action markers. Run the Ghost Test from the build menu, watch where the ghost hits a wall, and drop an avoid here marker roughly 10 meters before the wall. The second most common reason is a tight transition where the AI under-steers; adding a drift here marker on the entry to the turn usually fixes it.