
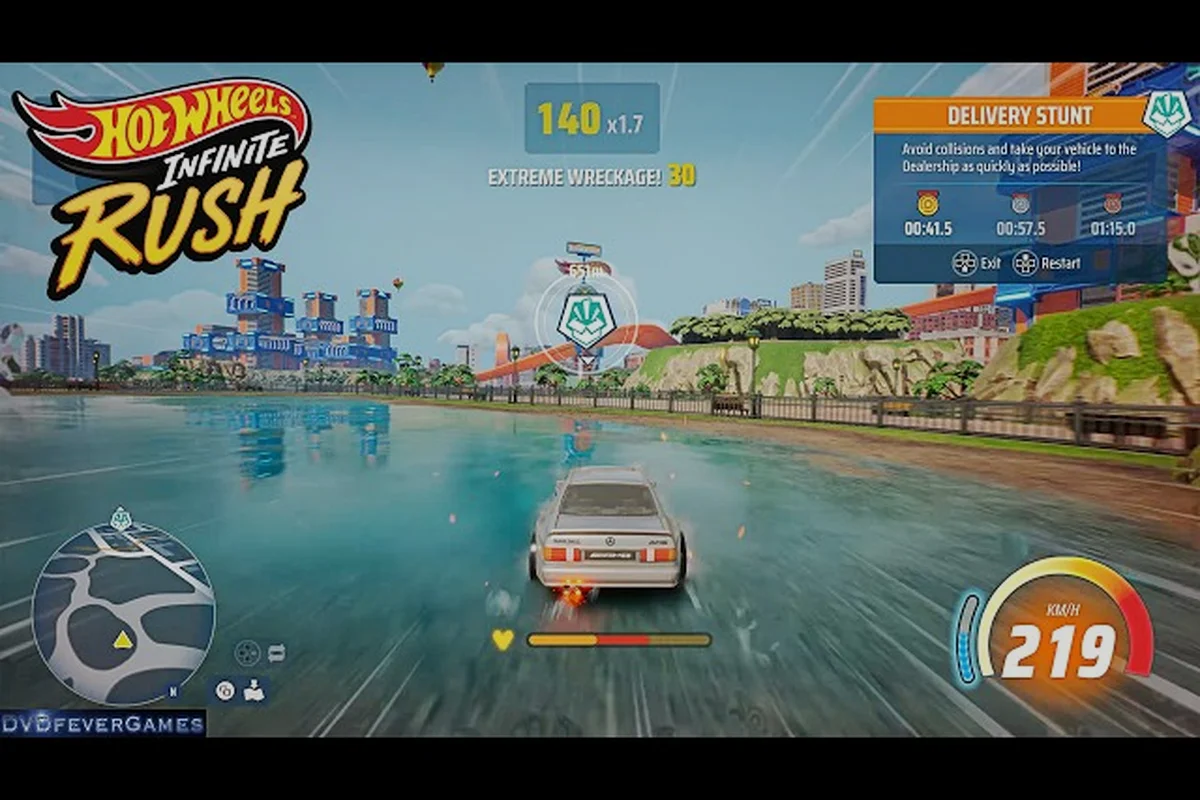
Tuning your car in HOT WHEELS Infinite Rush is the difference between shaving seconds off a rival crew time and getting dusted in a straight line. The customize layer sits on top of every vehicle in your Rush Squad, mixing a perk system that rebalances performance stats with a visual layer in the Creativity Corner that handles wheels, rims, stickers, and livery. According to the official Milestone devblog, the perk and customization systems were designed as a single feedback loop: race, earn points, spend them on stat perks, then change wheels and decals to match the new build. This guide walks through every layer of the upgrade system, lays out the actual upgrade cost curve reported by players, and shows which perks to chase for drift, speed, and handling.
Which Upgrades Deserve Your Coins First
The HOT WHEELS Infinite Rush upgrade system explained at its core has three layers: perks that change performance numbers, tuning points that respec those perks, and cosmetics that change how the car looks and sounds without touching stat values. Each layer pulls from a different currency, so a player who wants to learn HOT WHEELS Infinite Rush how to customize has to manage all three in parallel rather than treating one as the "real" progression path.
According to the Beyond the Track Ep. 2 official devblog, the perk layer is the one that actually changes how a car drives. The devblog describes a system where players improve performance stats and fine-tune them to match their racing style, with a perk tree that branches into drift, nitro, and handling. The Creativity Corner, by contrast, is a visual sandbox: a wide selection of stickers, wheels, and rims, plus a livery editor and decal layering, all of which sit on top of the stat layer without influencing lap times.
The Three Customization Layers
| Layer | What It Changes | Currency | Affects Lap Time? |
|---|---|---|---|
| Perk Tree | Drift, nitro, handling, acceleration | Perk Points | Yes |
| Tuning Respec | Reassigns perk nodes | Tuning Tokens | Yes (indirectly) |
| Creativity Corner | Wheels, rims, stickers, livery, boost FX | Craft Coins | No |
A common newcomer mistake is to dump Craft Coins into wheels and decals on day one and then wonder why their car still understeers into a hairpin. The perk layer is the foundation, and the cosmetic layer is the paint job on top of it. For players who want a deeper breakdown of the perk tree itself, the HOT WHEELS Infinite Rush perk system guide covers node layout and stat math in detail.
Perk Points, Tuning Tokens, and Craft Coins
Each currency is earned through a different gameplay loop, which is why players who only race will feel gated when they try to respec. Perk Points drop from race finishes, special activities, and rival crew takedowns, while Tuning Tokens come from beating specific challenges and discovering hidden events like the Secret Dealership. Craft Coins, the cosmetic currency, accumulate passively through free-roam exploration and from completing livery and sticker challenges inside the Creativity Corner.
HOT WHEELS Infinite Rush How to Get Perks Fast
Knowing HOT WHEELS Infinite Rush how to get perks efficiently is the first real progression wall most players hit around the second island. Race rewards scale with placement, difficulty, and crew affiliation, but the fastest perk farming routes are not always the highest-paying races — they are the repeatable activities with the best reward-per-minute ratio.
Perk Farming Activity Comparison
| Activity | Approx. Perk Points / Run | Time (min) | Notes |
|---|---|---|---|
| Standard Circuit Race | 80–120 | 3–4 | Top placement bonus |
| Rival Crew Showdown | 200–300 | 6–8 | High risk, crew-locked |
| Drift Challenge | 100–150 | 2–3 | Drift perk XP bonus |
| Secret Dealership Discovery | 400–500 | 10–15 | One-time per save |
| Special Activity Hotspot | 150–250 | 4–6 | Resets on island rotation |
The Secret Dealership is the single biggest perk infusion in the early game, and most players do not find it on their first free-roam pass because it is hidden behind a stunt gate. Rival Crew Showdowns are the best repeatable source once the player has unlocked the second island, while Drift Challenges are the smartest use of time for players who are specifically chasing drift perk nodes.
Reset and Respec Rules
Tuning is not a one-way door. Players can respec their perk tree at any Tuning Station in the open world, but each respec costs a small number of Tuning Tokens. Early on, when tokens are scarce, it pays to plan a build before spending points, because wasted nodes cost real currency to fix. The tuning guide approach that most veteran players settle into is to specialize one car per vehicle class rather than spreading points across all 150+ vehicles, and then to respec only when a new perk tier unlocks.
HOT WHEELS Infinite Rush Upgrade Cost and Tuning Math
The HOT WHEELS Infinite Rush upgrade cost curve is steeper than it looks, because perks stack on top of a base vehicle stat block that already varies by class. A Bone Shaker and a Supercharged ride both start at different baselines, which means the same perk node can cost a different number of points depending on which car it is applied to. This is the part of the tuning guide most players underestimate when they start stacking perks blindly.
According to player reports, the perk tree has roughly six tiers per stat branch, and each tier requires more points than the last. The first tier in any branch is cheap, often under 50 points, but the final tier can run into the high hundreds. Because Tuning Tokens are limited, the math forces players to commit to a build identity early: drift specialist, speed specialist, or balanced handler.
Stat Branch Tier Cost Reference
| Tier | Approx. Perk Point Cost | Stat Gain (per branch) |
|---|---|---|
| Tier 1 | 40–60 | +5% to target stat |
| Tier 2 | 80–110 | +7% to target stat |
| Tier 3 | 140–180 | +8% to target stat |
| Tier 4 | 220–280 | +9% to target stat |
| Tier 5 | 340–420 | +10% to target stat |
| Tier 6 | 500+ | +12% to target stat, unique perk unlock |
This cost table is approximate, because the in-game UI rolls different node values per vehicle category, but the curve is consistent. The smart play is to push one branch to Tier 3 or Tier 4 before branching out, because spreading points across two Tier 1 nodes produces a weaker car than a single Tier 3 specialization. Players who want to dive deeper into the math should check the HOT WHEELS Infinite Rush acceleration upgrade guide for a side-by-side comparison of where each stat branch pays off.
Hidden Cost: Stat Trade-offs
Tom's Guide noted after a 15-hour preview session that the perk and upgrade system involves trade-offs between drift, nitro, and handling, meaning maxing one stat tends to pull points away from the others. That trade-off is by design. The tuning math rewards commitment to a playstyle rather than rewarding players who try to build a do-it-all car, and the best perks in the late game are the ones that shore up a weakness rather than overstack a strength.
HOT WHEELS Infinite Rush Best Perks and Build Archetypes
The HOT WHEELS Infinite Rush best perks question does not have one answer, because the perk tree is built around three build archetypes that each map to a different racing style. The drift build leans into angle and nitro retention, the speed build chases top-end velocity and straight-line boost, and the balanced handler build trades peak numbers for forgiveness on technical tracks.
According to community testing and the official Steam page customization section, the perk tree branches into drift, nitro, acceleration, and handling nodes, with each branch having a signature Tier 6 perk that defines the build. Picking the right signature perk is more important than grinding every node to max, because the Tier 6 nodes often include a passive that is unique to that branch.
Build Archetype Comparison
| Build | Core Stat Focus | Signature Tier 6 Perk | Best Track Type |
|---|---|---|---|
| Drift Specialist | Drift, Nitro Retention | Extended Drift Window | Twisty urban circuits |
| Speed Specialist | Top Speed, Boost Charge | Overcharge Boost | Long straights, highway |
| Balanced Handler | Handling, Acceleration | Quick Recovery | Mixed technical layouts |
| Hybrid Racer | Two-stat split | Branch Flex Node | Open-world free-roam |
The Hybrid Racer is the most common first build for new players, because it feels safe and works on most tracks, but it never wins outright against a committed specialist. Players who want a strong second car to round out their Rush Squad should pair one specialist with one balanced handler, which gives them coverage on every track type without forcing a respec before every race.
Best Perks by Stat Branch
| Stat Branch | Tier 4 Pick | Tier 5 Pick | Tier 6 Pick |
|---|---|---|---|
| Drift | Drift Chain Bonus | Drift Nitro Refill | Extended Drift Window |
| Nitro | Boost Charge Speed | Boost Duration | Overcharge Boost |
| Handling | Cornering Grip | Recovery Boost | Quick Recovery |
| Acceleration | Launch Power | Mid-Range Pull | Branch Flex Node |
Players who run drift challenges back-to-back will get the most out of the Drift branch Tier 6 passive, while racers who focus on highway showdowns want the Nitro branch. The Handling branch is the one most veteran players recommend for the first car, because Quick Recovery forgives mistimed drifts and lets a player learn track layouts without losing positions on every corner.
HOT WHEELS Infinite Rush Custom Wheels, Cosmetics, and Visual Layer
The HOT WHEELS Infinite Rush custom wheels layer is the visual half of customization, and it is the part most players screenshot. Wheels, rims, stickers, and livery all live in the Creativity Corner, and they can be layered with boost and strafe visual effects plus custom sound packs. None of these affect lap time, but they do affect how the car feels in the hands of the player driving it, because a familiar look reduces visual friction during tight racing.
The official devblog frames the Creativity Corner as a wide selection of stickers, wheels, and rims for creating a look entirely your own, plus a livery editor that supports layered decals. Boost and strafe visual effects and sounds are also customizable, which means two cars with identical perk trees can look and sound completely different in a race.
Creativity Corner Content Volume
| Cosmetic Category | Approx. Item Count (per vehicle class) | Currency |
|---|---|---|
| Wheel Styles | 30–40 sets | Craft Coins |
| Rim Variants | 60+ patterns | Craft Coins |
| Sticker Packs | 200+ designs | Craft Coins |
| Livery Layers | Up to 8 decal slots | Craft Coins |
| Boost FX | 15 color presets | Craft Coins |
| Strafe FX | 10 trail styles | Craft Coins |
| Sound Packs | 8 engine tones | Craft Coins |
The wheel and rim categories are where most Craft Coins go, because the devblog calls out wheels as a featured customization option alongside stickers. Players who want a high-end look without spending weeks grinding can prioritize one wheel set, one rim pattern, and one decal theme, and then add layered effects only after the core look is locked in. For a deeper look at how wheels interact with the perk layer, the HOT WHEELS Infinite Rush wheels customization guide covers unlock conditions and visual matching with build archetypes.
Livery Editor Tips
The livery editor supports up to eight decal layers, which means players can stack background patterns, mid-layer graphics, and foreground sponsor logos. The trick is to keep the front of the car clean, because the camera angle during races makes the hood and roof the most visible surfaces. Sticker packs rotate seasonally and through special events, so locking in a base livery early and rotating small decals on top is a cheaper path than rebuilding the whole look every update.
Advanced Tuning Guide: Putting It All Together
The full HOT WHEELS Infinite Rush tuning guide loop is: pick a build archetype, push one stat branch to Tier 3 or 4, lock in custom wheels and livery, then respec only when a new perk tier unlocks. Players who try to min-max every node from the start usually end up with a mid-tier car in every category, which loses to specialists on every track type.
A practical tuning order for a mid-game player is: max the Tier 3 node in one stat branch, then spend Craft Coins on a wheel set and rim that match the build archetype visually, then push the same branch to Tier 4 over the next few sessions, then respec a second car into a complementary build. That sequence takes about six to eight hours of play and produces two race-ready cars with distinct identities.
Tuning Priority Order
| Step | Action | Time Investment | Outcome |
|---|---|---|---|
| 1 | Pick build archetype | 5 min | Defines perk path |
| 2 | Tier 1–3 in core stat branch | 2–3 hours | Race-ready baseline |
| 3 | Pick wheel set + rim | 30 min | Visual identity locked |
| 4 | Tier 4–5 in core branch | 3–4 hours | Competitive edge |
| 5 | Respec second car to complement | 1 hour | Two-car coverage |
| 6 | Tier 6 signature perk | 4+ hours | Build-defining passive |
Players who want to round out the Rush Squad with vehicles that match the build should also look at the HOT WHEELS Infinite Rush all vehicles list to see which car class fits each archetype. Pairing a drift Bone Shaker with a balanced handler from a different class gives the strongest free-roam coverage, because the player can swap between them with a single button press.
Frequently Asked Questions
What is the fastest way to learn HOT WHEELS Infinite Rush how to customize?
The fastest path is to pick one vehicle, push its drift or nitro perk branch to Tier 3, then spend Craft Coins in the Creativity Corner on a matching wheel set. According to the official devblog, the perk system and the Creativity Corner are designed as a single feedback loop, so handling both layers in parallel produces a faster-feeling car than grinding one layer first.
How much does a full perk respec cost in HOT WHEELS Infinite Rush?
A full respec at a Tuning Station costs a small number of Tuning Tokens, and the cost scales with how many nodes are reset. Early game tokens are scarce, so it pays to commit to a build before pushing past Tier 3, because wasted nodes cost real currency to undo. Tuning Tokens drop from rival crew wins, special activities, and Secret Dealership discoveries.
Are HOT WHEELS Infinite Rush custom wheels purely cosmetic?
Yes. Wheels, rims, stickers, livery layers, boost FX, and strafe FX all change the visual and sound layer of the car but do not change performance stats. The perk tree is the only layer that affects lap time, so players who want a faster car should invest perk points before spending Craft Coins on cosmetics, even if the cosmetic layer is the more fun part of the game.
Which stat branch gives the HOT WHEELS Infinite Rush best perks overall?
There is no single best branch, because the perk tree rewards specialization over balance. Drift Specialists dominate twisty tracks, Speed Specialists own highway layouts, and Balanced Handlers forgive the most mistakes on technical courses. Most veteran players end up running one specialist and one handler so they have coverage on every track type without a respec between races.
Can I change boost and strafe effects in HOT WHEELS Infinite Rush?
Yes, the Creativity Corner lets players customize boost and strafe visual effects and sounds independently of the perk layer. Boost color presets, strafe trail styles, and engine sound packs are all swappable for Craft Coins, which means two cars with the same perk build can look and feel different in a race. The cosmetic layer does not affect lap time, but it does change how the car feels to drive because of the visual and audio feedback.